

Pickleball Ready Position: Prepare to Attack, Not Dink
Your pickleball ready position decides most of your hands battles before anyone swings. If your paddle is hanging at your waist, angled down, relaxed for the next dink, you have already lost the exchange that starts with a speed up. The fix is one idea: prepare to attack, not to dink. If you are set up to dink, dinking is all you can do. If you are set up to attack, you can still dink - but now you can also counter, block, and punish.
That is the whole article in two sentences, and it is the opposite of what most rec players actually do. I spent my first year at the kitchen line with my paddle low because dinking felt like the "safe" default, and I could not figure out why every 3.5 with quick hands was catching me on the chest. It was not my reflexes. It was my starting position. Everything below is how to build a ready position that holds up when the ball gets fast.
Watch: You'll be Surprised by this Tip for Faster Hands in Pickleball! - Zane Navratil Pickleball
What the Ready Position Actually Is
The ready position is your default body and paddle setup between shots - the posture you return to after every single ball you hit. Not the posture you start the rally in and then abandon. That distinction matters, because most players have a decent ready position for exactly one shot: the return of serve. After that, the paddle drifts lower and lower as the rally goes on, and by the fourth dink it is somewhere around their knees.
A real ready position has three components. Paddle: up around chest height, out in front of your body, in a neutral grip you can fire from. Body: knees bent, weight on the balls of your feet, chest leaning slightly forward. Eyes: on the opponent's paddle face, not on the ball's arc. If any one of those collapses, the other two cannot save you.
Here is the test. Have a partner stand across the kitchen and randomly speed one up at your right shoulder mid-dink-rally. If your response is a flinch instead of a block, your ready position between dinks is broken. Almost everyone fails this the first time - not because their hands are slow, but because their paddle had to travel twelve inches before it could even start defending.
Prepare to Attack, Not to Dink
This is the core principle, and it comes from a simple asymmetry. From an attack-ready setup - paddle up, compact, slightly in front - you can hit every soft shot in the game. Dropping your paddle to dink from chest height takes almost no time because gravity does half the work. But from a dink-ready setup - paddle low, face open, wrist relaxed - you cannot get to a fast ball at your shoulder in time. Raising the paddle is slower than dropping it, and you are doing it while the ball is already on you.
So the math only works one direction. Prepare to dink and you can only dink. Prepare to attack and you can do both. Every choice you make about paddle height and position should flow from that sentence.
In my experience the reason players default to dink-ready anyway is psychological, not technical. The dink feels like the polite, correct shot at the kitchen, so the body settles into dink posture the way you would relax between points. But the kitchen line is not a resting place - it is where every fast exchange in pickleball starts. The players who feel "impossible to speed up against" at your local courts are not superhuman. They are simply never caught mid-transition, because their default is the fast-ball position and they visit the dink from there, not the other way around.
Paddle Height: Chest, Not Waist
Concretely: the paddle head should sit somewhere between your sternum and your collarbone, roughly 12 to 18 inches in front of your chest. Not glued to your body - you need room to absorb pace - and not fully extended either, because a straight arm has no cushion and no swing room.
Why chest height and not higher or lower? Because it splits the target zone. Almost every speed up at the rec level goes to one of three places: your right hip (the "chicken wing" pocket on a righty), your torso, or your dominant shoulder. From chest height your paddle can reach all three with a movement of a few inches. From waist height, the shoulder ball is unreachable and the torso ball is a lottery.
There is a trade-off, and it is worth being honest about it: holding the paddle up costs energy. Your shoulder will burn the first few sessions if you have spent years resting the paddle at your waist. That fatigue is the reason the paddle drifts down late in games - which is exactly when opponents start speeding up, because good players attack tired hands. Treat paddle height like a fitness stat. It improves fast, but only if you stop letting it drop every time you get comfortable.
Favor the Backhand Side
Height is half the setup. The other half is where the paddle face points, and the answer for most players is: shaded toward your backhand. Hold the paddle slightly left of your center line (for a righty), face at around eleven o'clock, so a ball hit straight at your body meets a backhand block without any decision required.
The reason is coverage. Your backhand can defend everything from your left shoulder across your torso to your right hip in one compact motion - elbow stays in, paddle sweeps a small arc. Your forehand can only cleanly defend balls outside your right hip, and it needs more space and more time to do it. Players who wait with a centered or forehand-favored paddle end up chicken-winging every torso ball, jamming their own elbow trying to make a forehand happen where a backhand should have been.
The commitment matters more than the exact angle. Decide before the ball comes that everything at your body is a backhand, and only balls well outside your right hip get the forehand. That pre-decision is worth more than any amount of reaction training, because hesitation - not hand speed - is what actually loses hands battles at the 3.5 to 4.5 level.
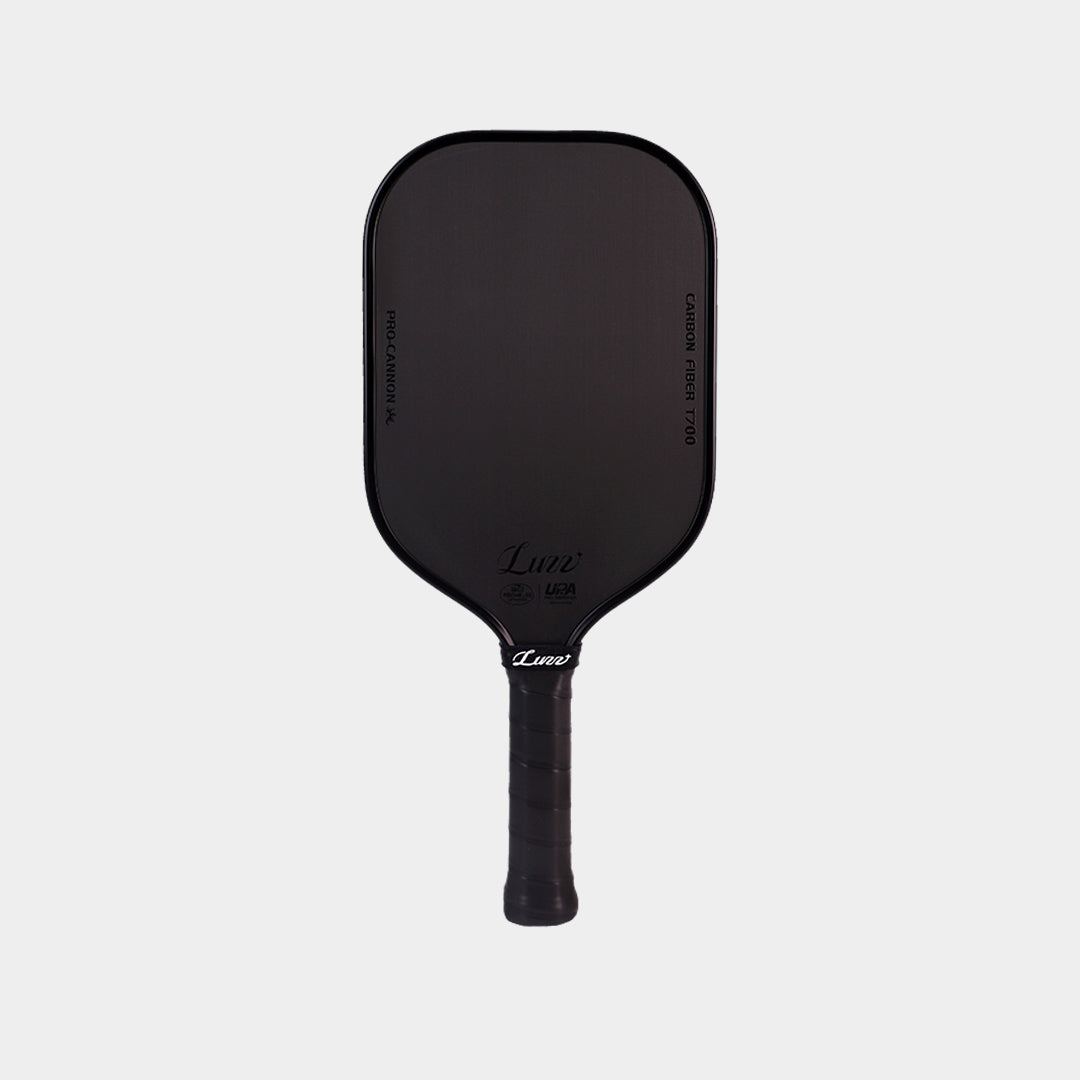
Holding a paddle at chest height for two hours makes weight and balance matter more than any spec sheet suggests. I play with the Luzz Cannon - light enough that my shoulder is not cooked by game three, with real pop left over for the counters this article is about.
Feet and Base: The Part Everyone Skips
A perfect paddle position on top of straight legs is a facade. When your legs are straight, every reach becomes an arm reach, your recovery is slow, and low balls force you to bend at the waist - which drops your eyes and your paddle together.
The base is boring and non-negotiable: feet a bit wider than shoulder width, knees genuinely bent (not the token quarter-inch most of us do when a coach is watching), weight forward on the balls of your feet, heels light. From that base, a small split step as your opponent contacts the ball puts you in position to move any direction. You do not need to jump - it is a re-set of weight, a bounce the size of a heartbeat, timed to their contact.
One cue that fixed this for me: if you can feel your heels pressing into the court while you wait, you are standing, not ready. Standing players get aced by dinks to their feet. Ready players take those same balls out of the air. The difference in the legs is invisible on video until the ball comes - then it is the entire difference.
Drills to Make It Automatic
A ready position you have to remember is a ready position you will lose by game three. The goal of drilling is to make attack-ready your involuntary default, and the video embedded above is a good place to start - the drill progressions there target exactly this.
Three that carry the most weight per minute spent. First, dink-with-a-trigger: normal kitchen dink rally, but your partner is allowed to speed up at any time. Your only job is returning to chest-height paddle position between every single dink. The dinks themselves are almost irrelevant - the drill is the reset. Second, wall speed ups: stand seven or eight feet from a wall and volley continuously at chest height. The wall never lets your paddle rest, which is the point. Two minutes is harder than it sounds. Third, shadow resets: no ball at all - hit an imaginary dink, snap back to ready, ten times, before you start play. It feels silly and it works, the same way a golfer's practice swing does.
If you track anything, track this: how many times per game you get hit in the body or chicken-wing a counter. That number is a direct readout of your ready position, and in my experience it drops within two or three sessions once the reset becomes a habit. Once the position is solid, the next bottleneck is reaction speed itself - I covered that separately in how to get faster hands in pickleball.
Where Players Go Wrong
The classic failure modes, in rough order of frequency. Paddle drift: perfect position after the return, gone by the third shot - fix it with the dink-trigger drill above, not with intentions. Watching the ball instead of the paddle: the ball's arc tells you what already happened; the opponent's paddle face tells you what is about to happen. Read the face and you get a head start your hands do not have to earn. Gripping tight: a death grip slows your first move and turns blocks into pop ups - hold firm at contact, loose between. And finally, resting during "easy" points: there is no such thing at the kitchen. The speed up you did not expect is the one that was aimed at your relaxed paddle.
None of these are talent problems. Every one of them is a habit with a known fix, which is honestly the good news - ready position is one of the highest-return, lowest-athleticism upgrades available to an amateur player.
Key Takeaways
Your ready position is a decision you make before the ball is hit, and the right decision is to prepare for the fast ball: paddle at chest height in front of you, shaded backhand, knees bent, eyes on their paddle. From there the dink is always available - the reverse is never true. Build the reset habit with trigger drills, watch your body-shot count fall, and the "fast hands" you thought other players were born with turn out to be a starting position you can just copy.
Frequently Asked Questions
Where should my paddle be in the pickleball ready position?
Chest to collarbone height, 12 to 18 inches in front of your body, shaded slightly toward your backhand side so balls at your torso are met with a backhand block by default.
Should I hold a forehand or backhand grip while waiting?
A neutral continental grip, shaded toward the backhand. Most speed ups come at your body, and the backhand covers that zone with the smallest, fastest motion.
Why do I keep getting hit by speed ups even though my reflexes are fine?
Almost always because your paddle starts too low. A paddle at your waist has to travel up before it can defend, and no reaction time makes up for that distance. Start at chest height and the same speed ups become blockable.
Does the ready position change in the transition zone?
The paddle stays up, but drops slightly lower - around sternum height - because balls arriving in the transition zone are more often hit down at your feet. The legs matter even more there: stay low, split step at their contact, and reset forward.
Keep reading
- How to Counter a Speed Up in Pickleball (Even With Average Hands) The shot your new ready position exists to make - what to actually do once the fast ball arrives.
- Pickleball Dinking Strategy: When to Play Dead and When to Attack Ready position decides what you can do; this decides which dink is worth doing it on.
- Pickleball Footwork: The Real Reason You Miss Shots The legs half of the setup, in detail - because a chest-high paddle on straight legs still loses.